Who doesn’t like a sunset?
When photographing a sunset, the image can be made more interesting by making sure it has context. Perhaps other elements give it relevance or maybe the sunset alone is all you need to consider. The timing of the shot is also important; there are moments when the sun is still up, near or at the horizon, or below the horizon, affecting both color of the sky and the ability to shoot. There are many choices and decisions. You can shoot repeatedly, but which one will you decide is the best?
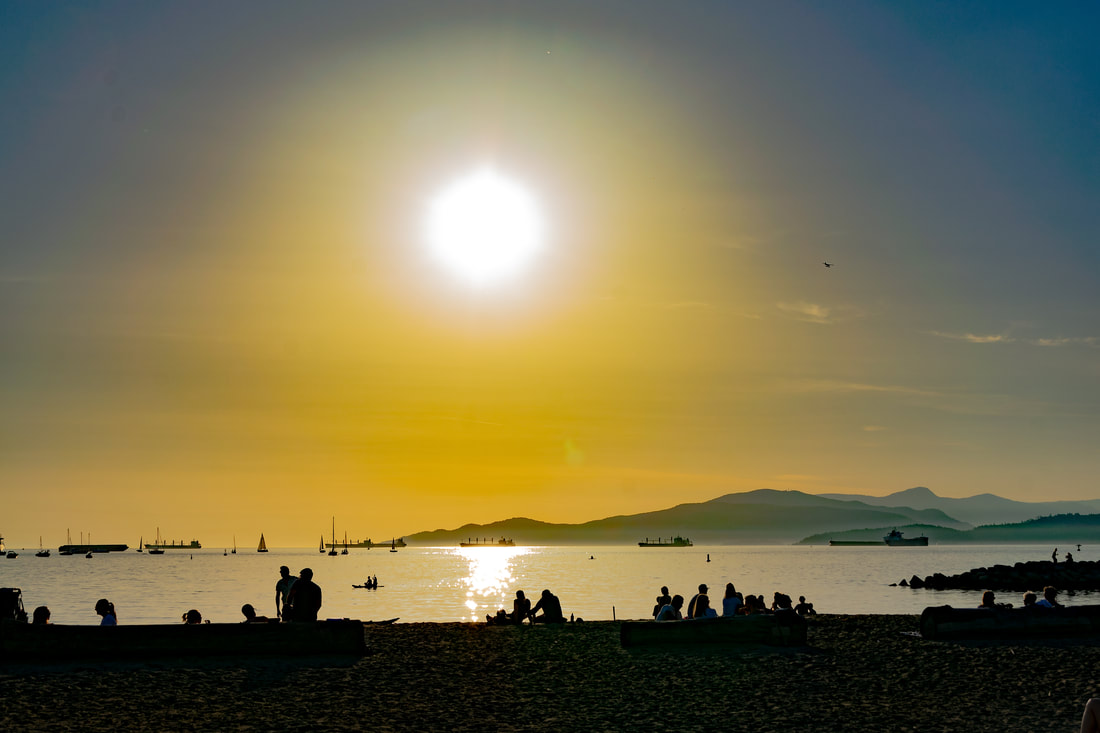
Here is an image I made at English Bay in Vancouver, prior to actual sunset but as the sun was descending.
When photographing a sunset, the image can be made more interesting by making sure it has context. Perhaps other elements give it relevance or maybe the sunset alone is all you need to consider. The timing of the shot is also important; there are moments when the sun is still up, near or at the horizon, or below the horizon, affecting both color of the sky and the ability to shoot. There are many choices and decisions. You can shoot repeatedly, but which one will you decide is the best?
Here is an image I made at English Bay in Vancouver, prior to actual sunset but as the sun was descending.
Here is what the image looked like in raw form, as shot, with no polarizing filter, only a UV filter,
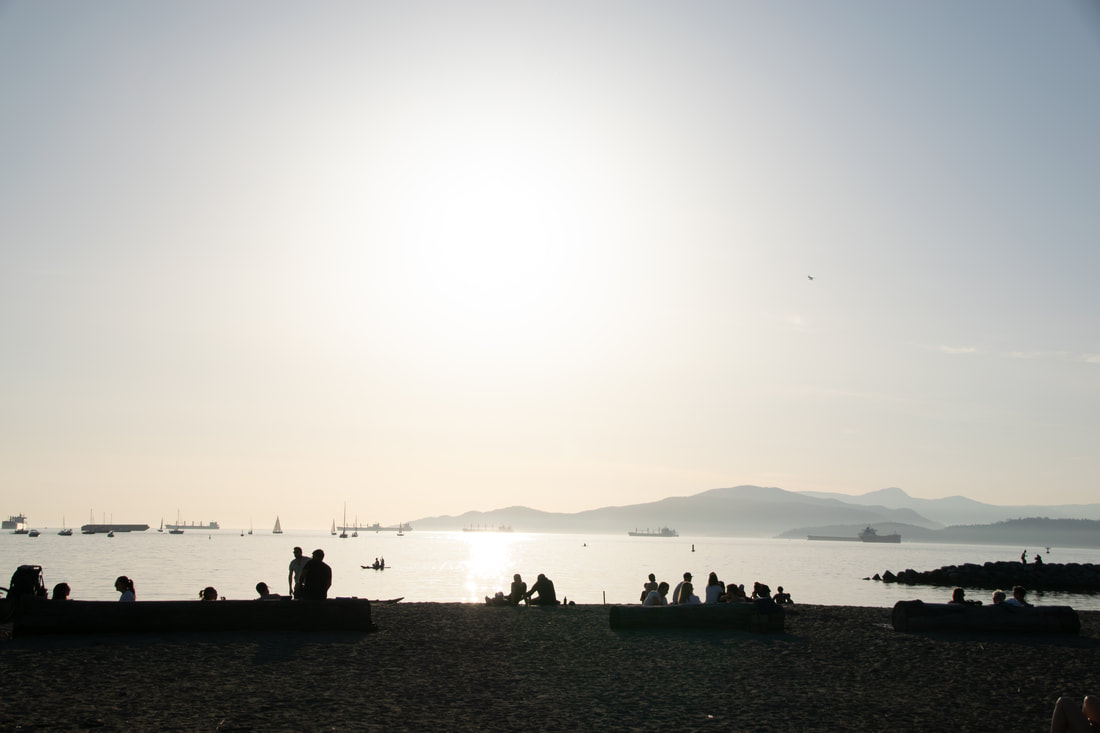
Let’s start with composition. I wanted the people at the beach as part of the image. I did not go right up to the water’s edge, but situated myself to make sure I could get a wide enough view to show a sampling of the people. For safety reasons, I focus below or to the side, hold down the shutter button to maintain focus, close my eyes, and move the camera slightly up or to the side and take several shots.
Of course, never look at the sun and always take the appropriate steps to protect your eyes.
There are ways to handle exposure—by taking several shots, exposing for the sky, exposing for the dark areas, changing exposure settings to underexpose, using filters, or employing other techniques. There is an old saying, expose for the highlights, develop for the shadows. Others may be more sophisticated at the moment of capture than I am; I rely on Lightroom and the ability to process the image through the software to make comparable adjustments. In this case, I made use of the dehazing filter, taking it to 100%, the white point to -100 (all the way to the left), slight adjustments to vibrancy and saturation (+10 each) to bring back the coloration, and +75 to the shadow filter to bring up some detail in the now darkened beach and people, but not completely to lose the silhouette effect. It is true that for some images, too much dehazing can make it look artificial or create a vignette or make certain parts too dark. I was satisfied with the effect and the use of other filters to keep it as natural looking as possible. I was also able to bring out enough detail to render the mountains in the distance distinguishable from each other.
I think I captured the sense of being there. It was not as dark in reality, but there is an evocative mood to this image that appeals to me.
Ultimately, the final image should be only what pleases you.